Red Oak Stool
Work in progress…

Photo 1

Photo 2

Photo 3
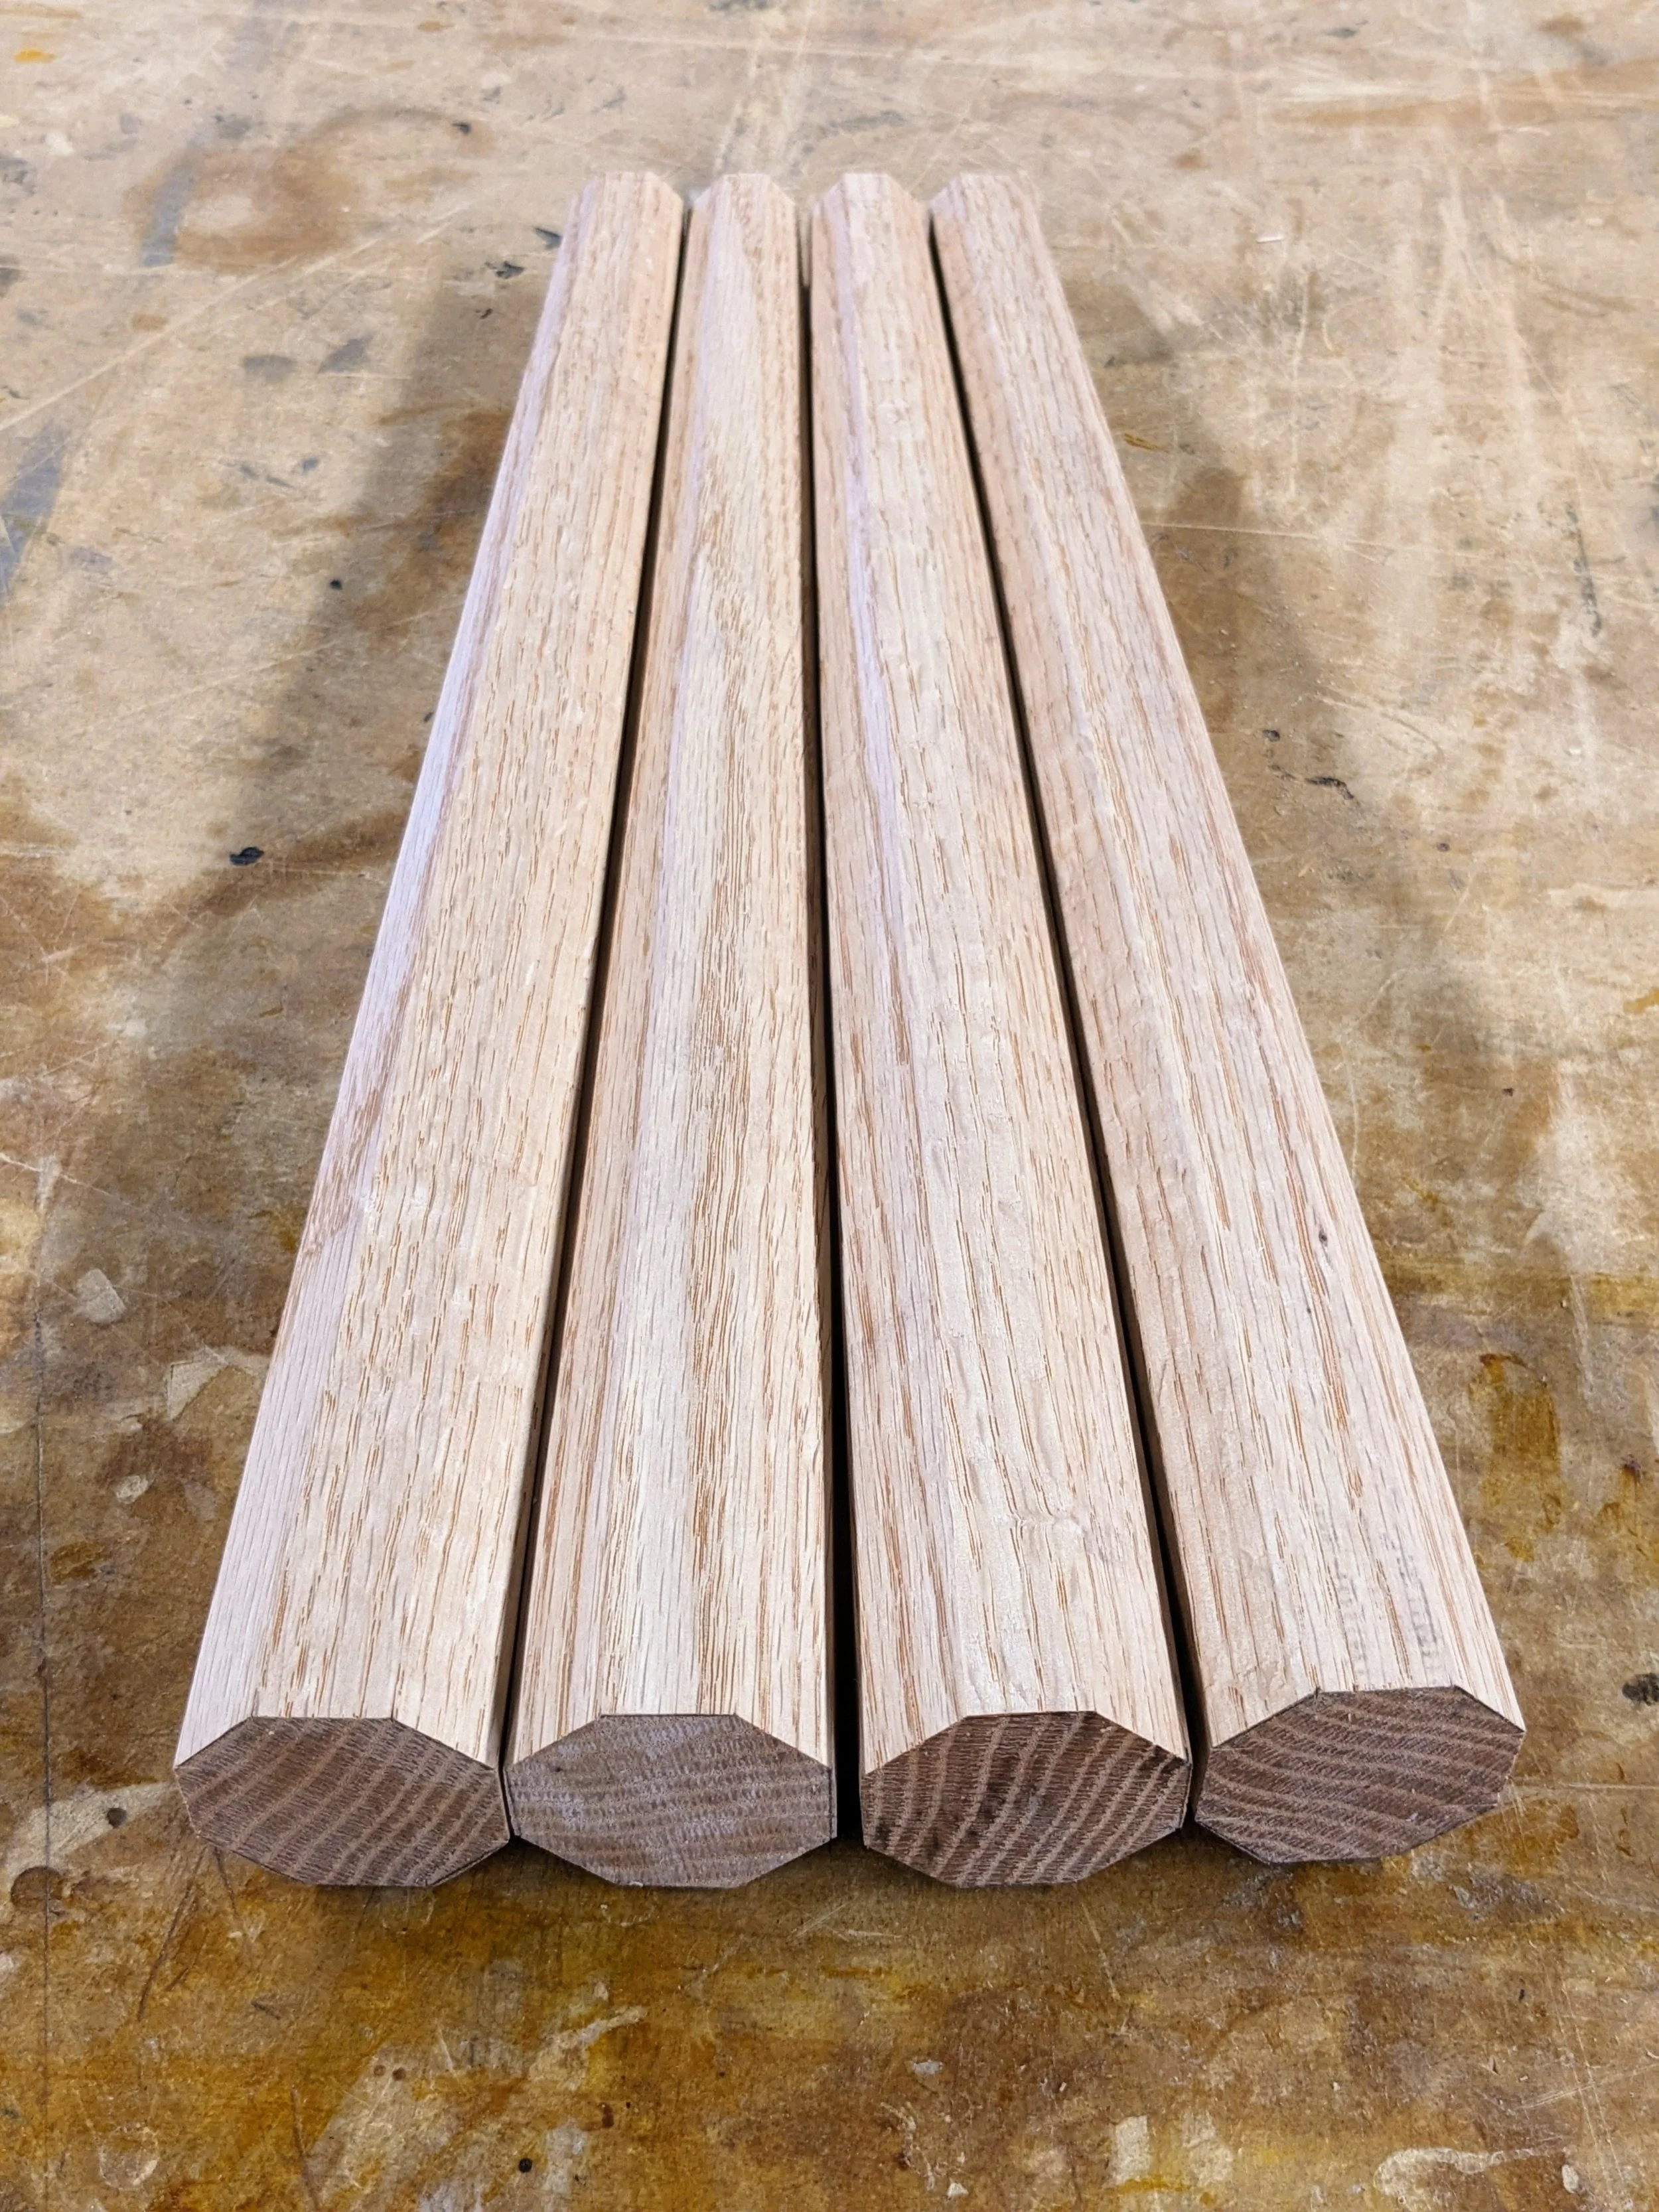
Photo 4

Photo 5

Photo 6

Photo 7

Photo 8

Photo 9

Machining a Christmas Ornament in Aluminum
A last-minute job with minor hiccups, but an overall success.
6061 aluminum 3/8” plate
Drilled 1/16” hole at depth of 6x diameter — without breaking drill
Sanded (hastily) and polished

Photo 1

Photo 2

Photo 3

Photo 4

Tool Rack
Making a tool rack for end mills and collets for a Tormach
Using a wood CNC to make a tool rack for a metal CNC…

Photo 1: Rendering of tool rack prototype

Photo 2: testing with twist drills for making holes

Photo 3: testing with spiral bit for making counterbores

Photo 4: Finished tool rack. Walnut with two coats of Rubio Monocoat. Adjustable feet.

Speeds and Feeds
To keep from breaking any more end mills, I experimented with different speeds and feeds, and cuts…

Photo 1: pocket cut

Photo 2: screenshot of parameters used to make pocket cut. Most notably: RPM 3K, IPM 15, ADOC 33%, RDOC 66%

Post-Covid
Gotta break a few eggs
It's been a minute, dear reader. The kiddo and I got COVID, which kept us home for ~3 weeks. This was my first week back in the shop, and it was a productive one. It ended with a broken mill in a near-finished part (photo 1).

Photo 1

Photo 2

Photo 3

Photo 4

Week 3
I made a 2.000” aluminum cube +/- .003”.
This week I have a finished part in hand. I mean, it’s not a part with any real functionality, but I achieved my goals: learn how to square and dimension stock.
I started with a rough chunk of aluminum from the mill and finished with a cube that is 2.000” on each side, ±.0003”, along with a 1/16” chamfer (photo 1). I’d be happier if the accuracy was more like ±.0001” but it’s not bad for my first time. Unfortunately I don’t have the instruments needed to measure squareness. The best I can do for now is to check squareness using an engineer’s square.
While learning how to square and dimension stock, I picked up a few more skills: tramming a vise using my dial test indicator (photo 2), setting the zero point using an edge finder and 1-2-3 block, and finding the right feed/speed for facing with my shell mill (photo 3).
Next steps:
learn how to square and dimension on the CNC mill
design and machine a part on the CNC mill
———
P.S. The argon tank at the shop is still empty and probably won’t get refilled for at least a few more weeks ☹️
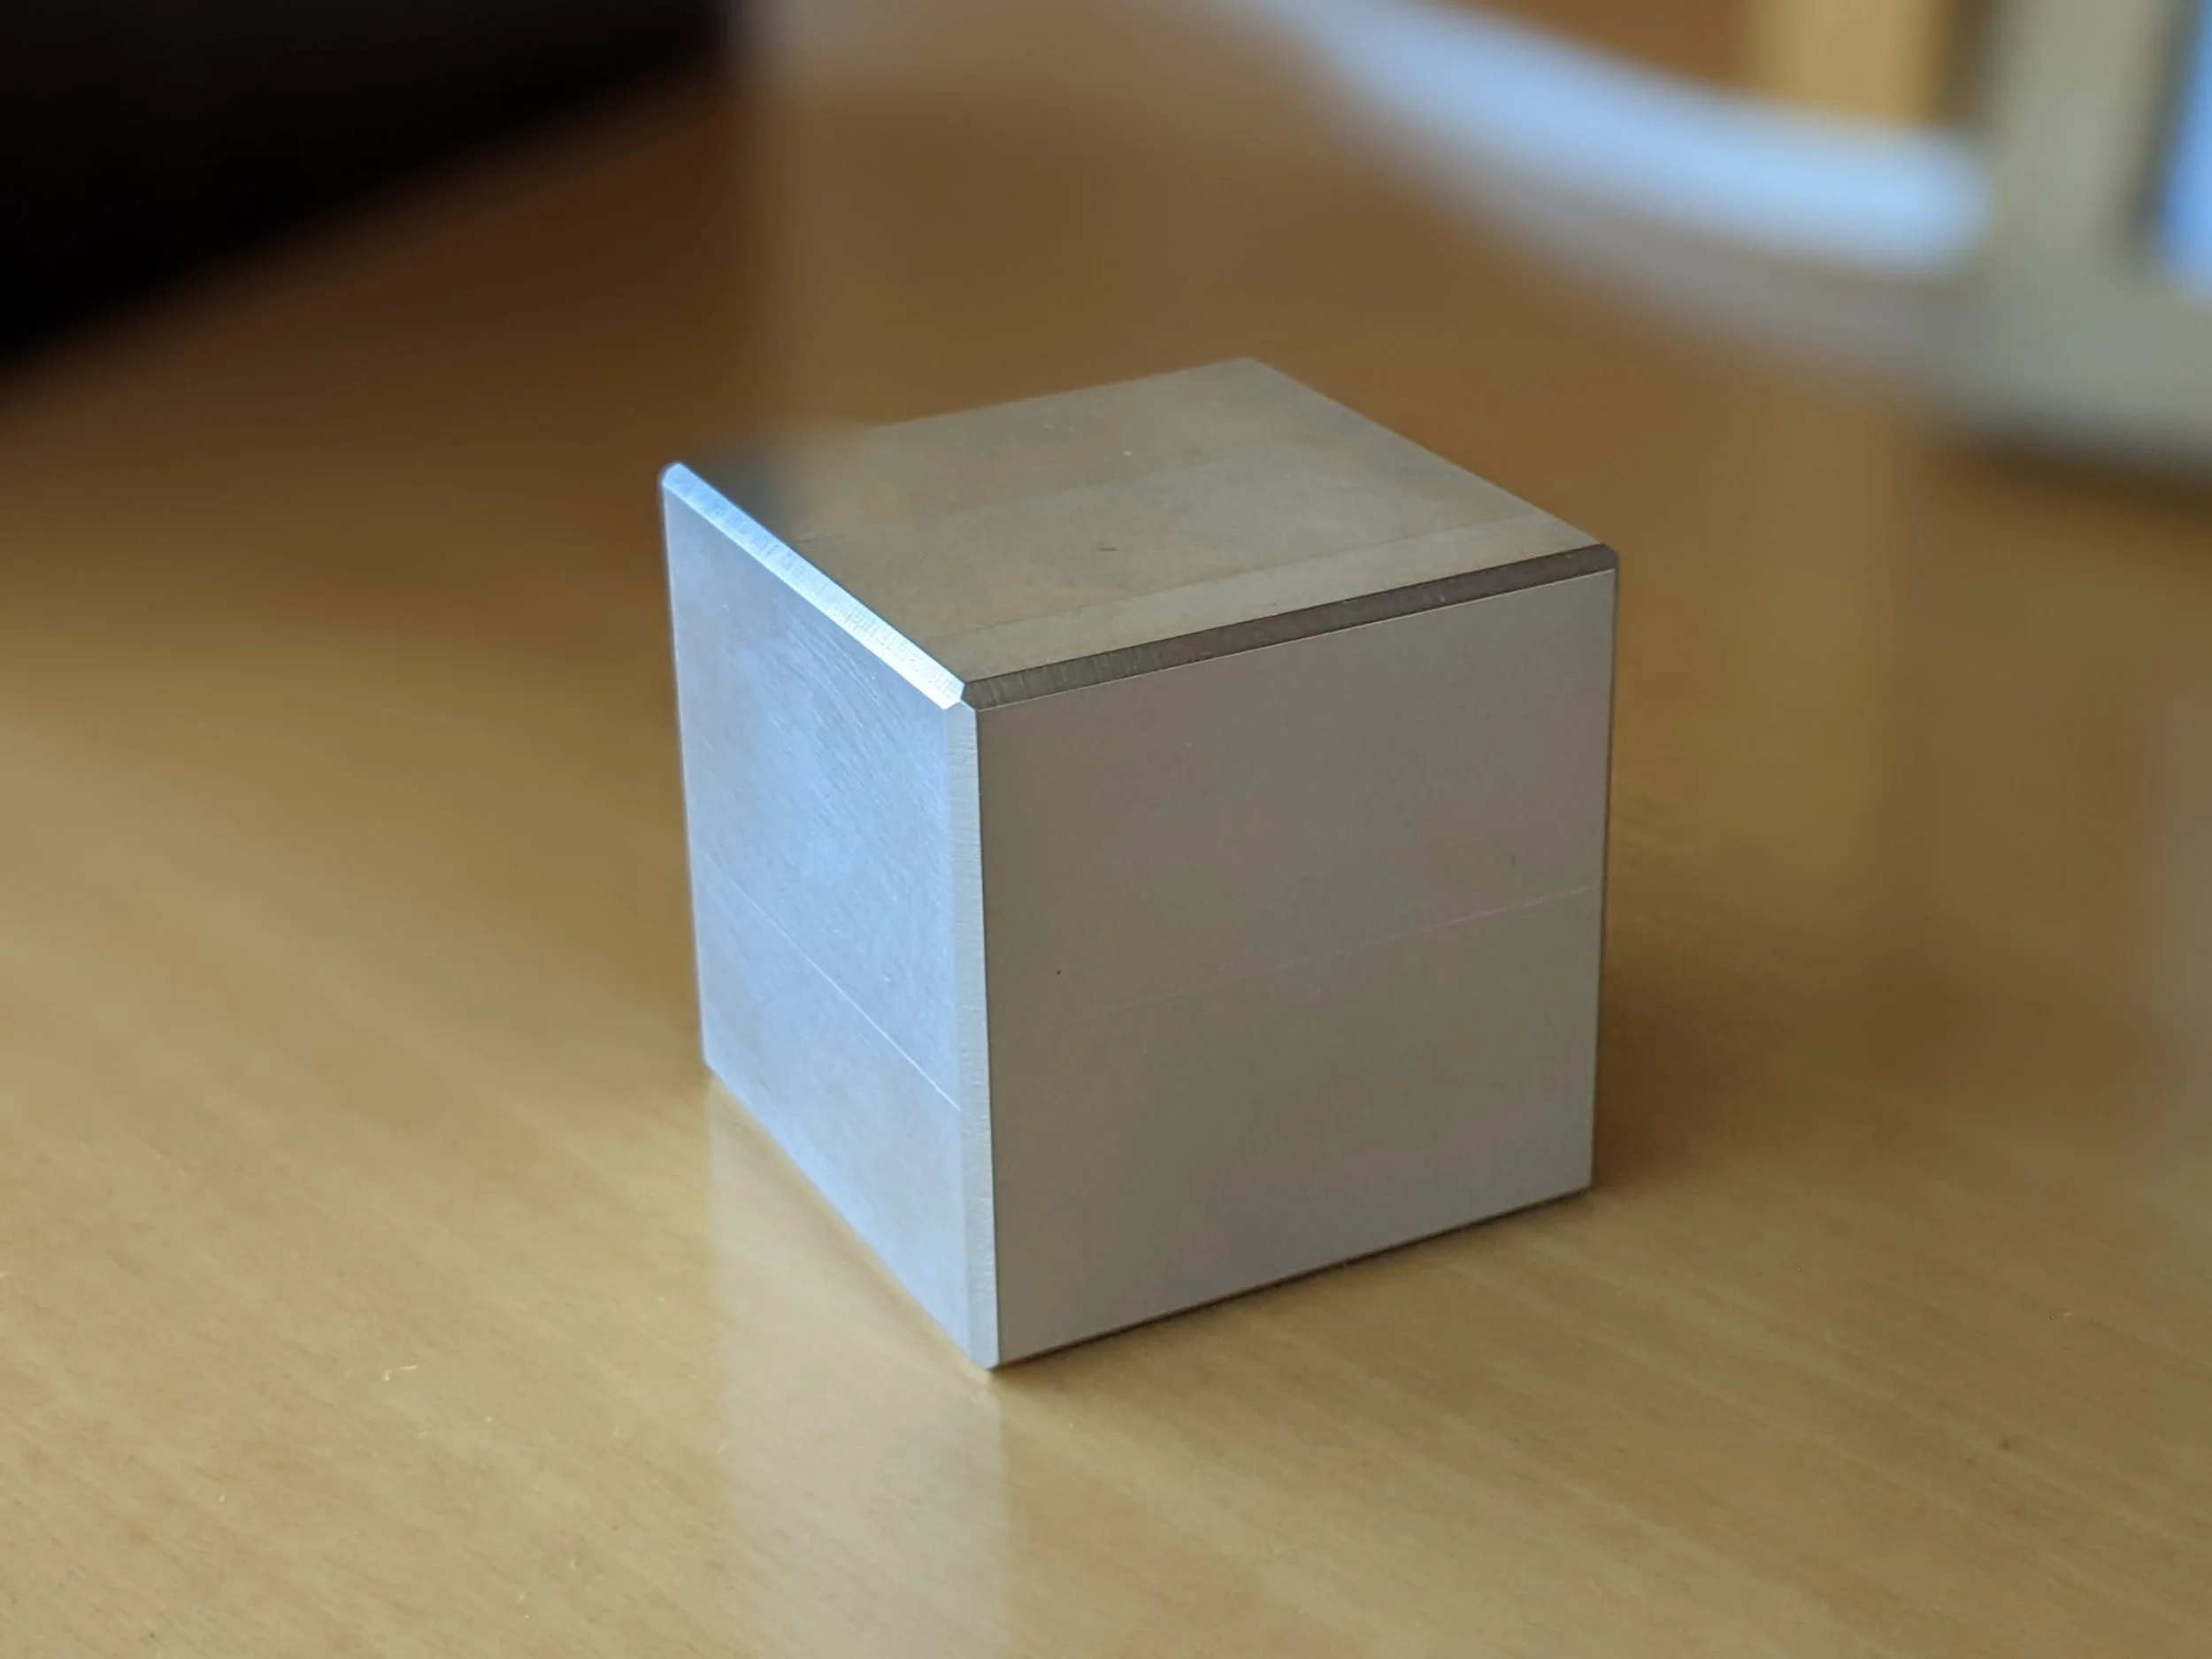
Photo 1
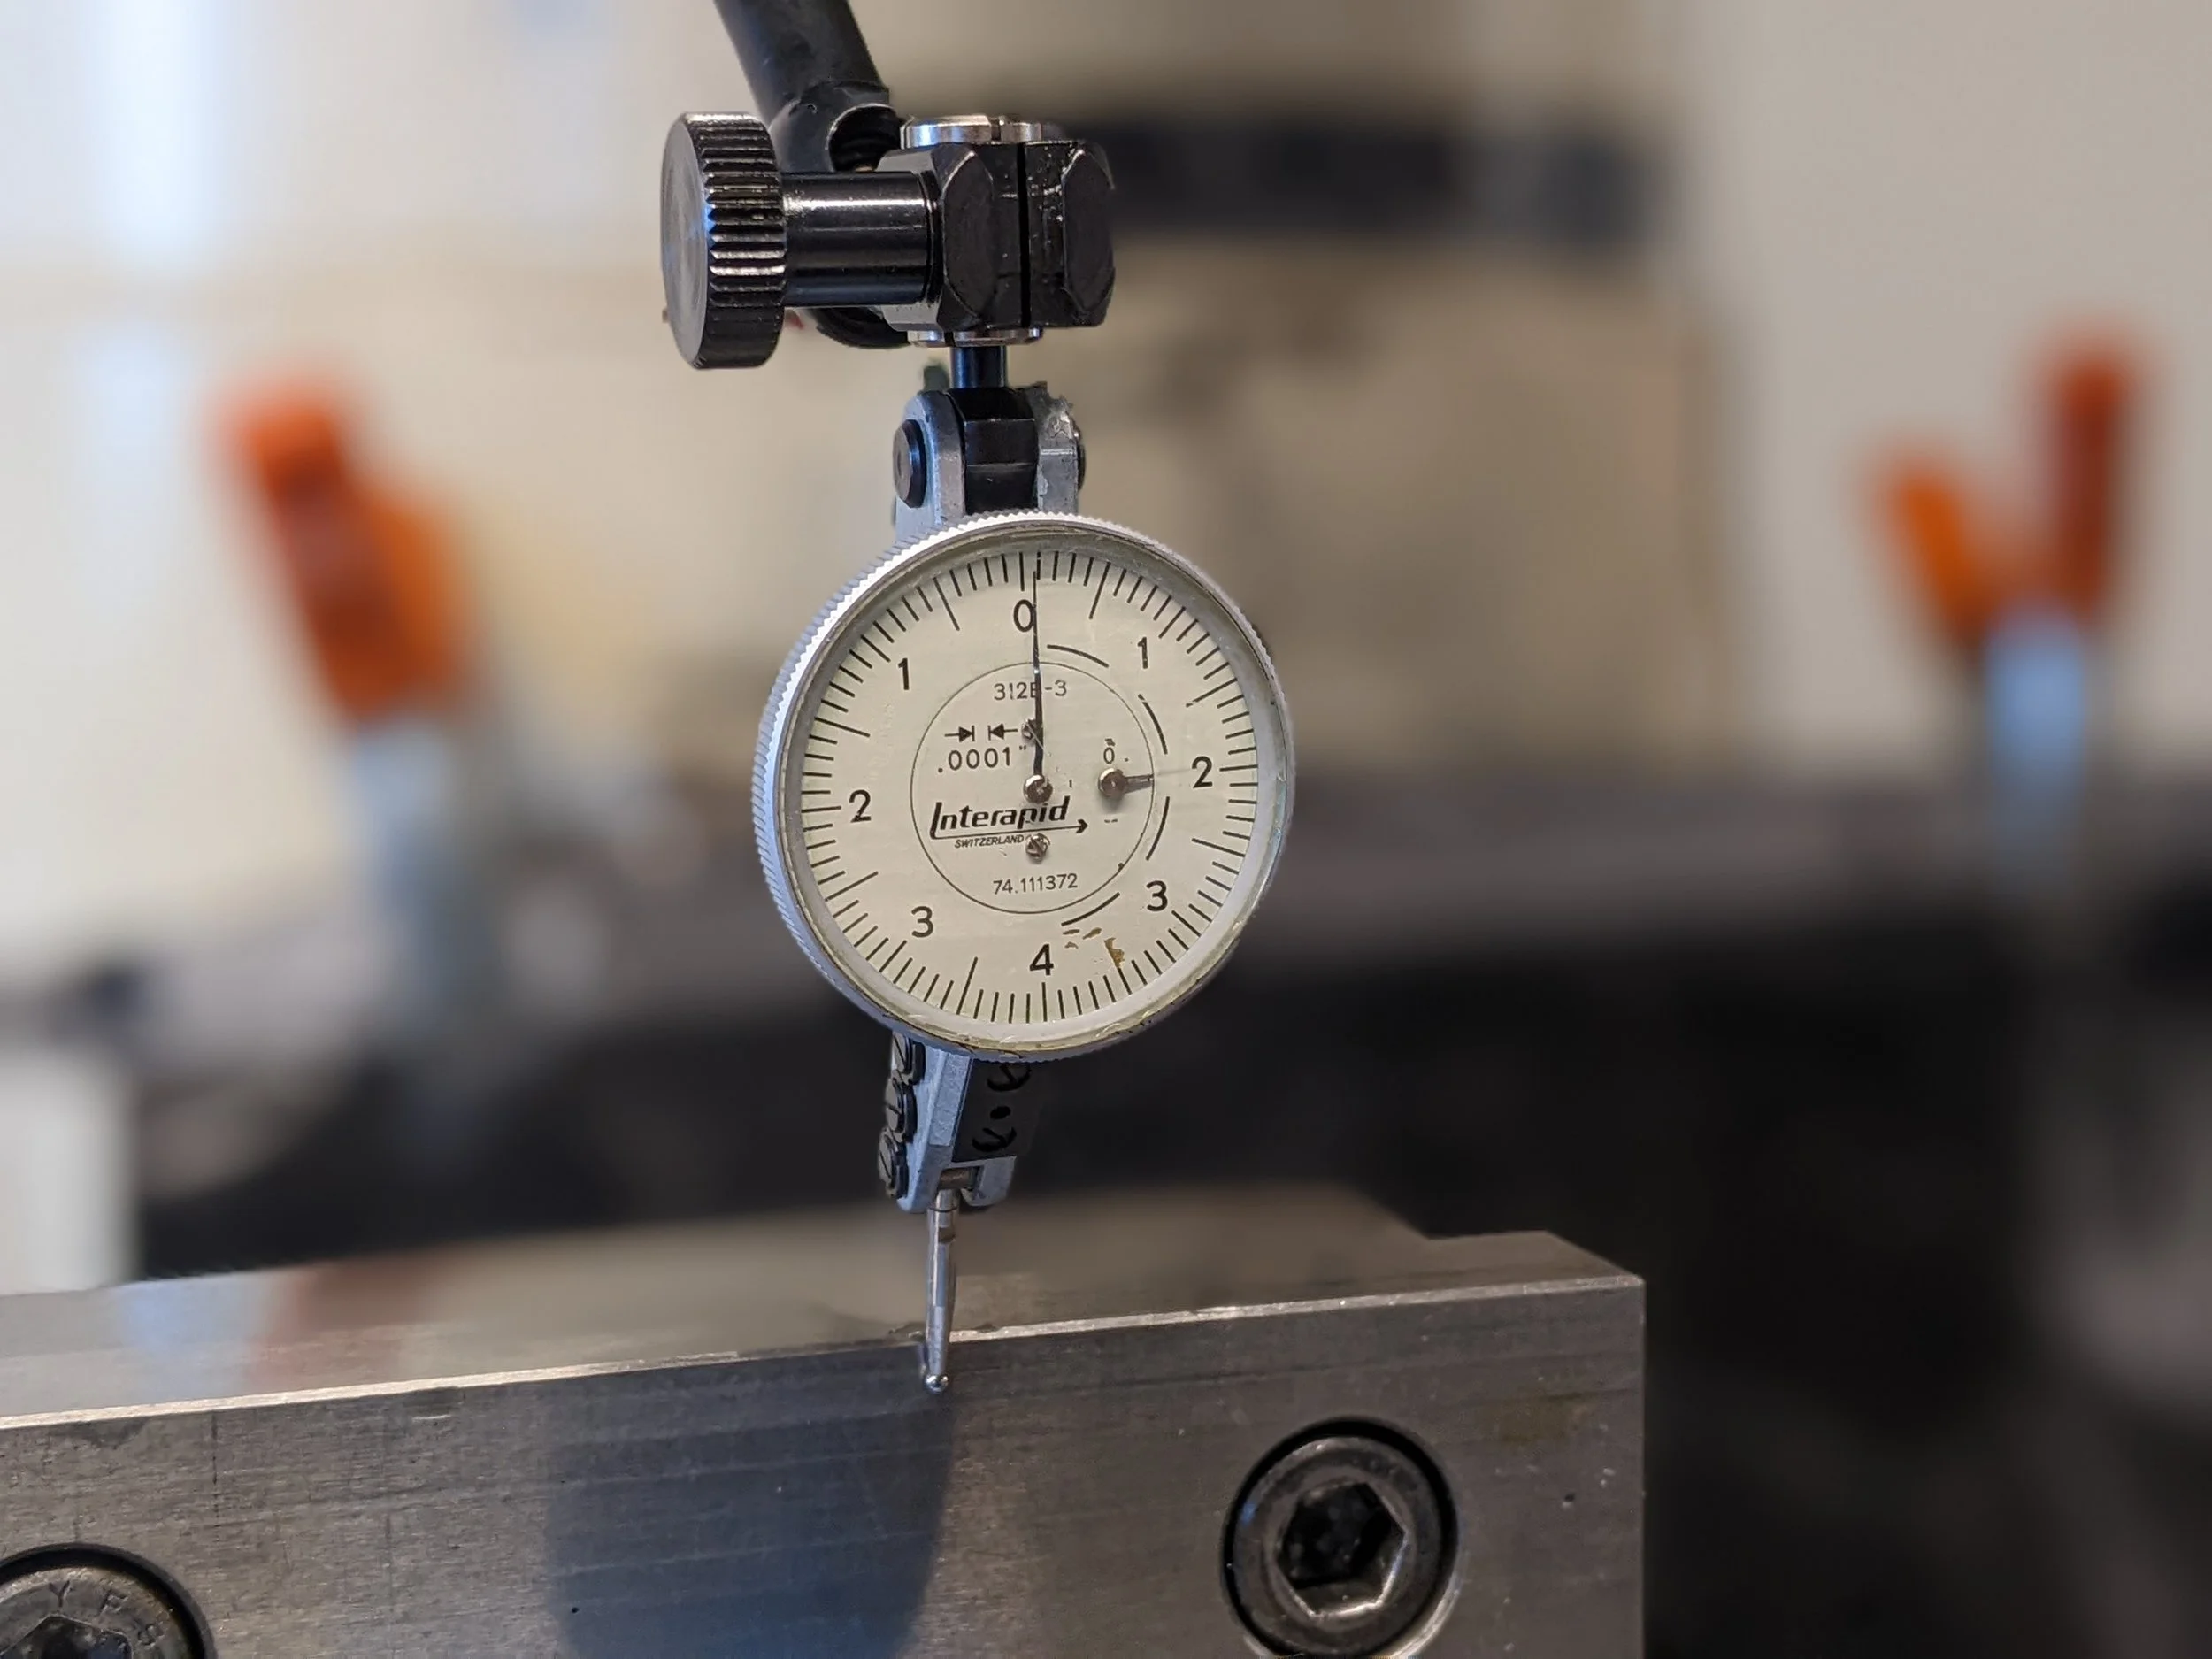
Photo 2

Photo 3

Week 2
Slow week for working in the shop. Fast week for shopping.
Week 2 was slower than I would have liked. My plan was to square and dimension a ~2”-inch cube of aluminum on the manual mill to see how precise I can get. To do that I need to rough cut small blocks from a larger block of aluminum. The small blocks are too small for the vise on the horizontal bandsaw; I need to tack-weld them to a long square tube, which is big enough for the vise. Unfortunately the TIG welder is offline (needs new argon tank) until next week (hopefully). That means I can’t use the mill or even practice welding.
On the bright side, I got several new toys:
Kennametal shell mill with 1.5” cutting diameter
Also, I made a trip down to Alan Steel to pick up two off-cuts of steel and aluminum tubing.
Show and tell
Last week I had difficulty with my welds, partly because I didn’t properly remove the mill scale from the metal. This week I used a flap disc (instead of a wire cup brush) with my angle grinder to remove the scale. The difference is like night and day. Unfortunately the argon tank on the TIG welder is low, so I couldn’t try welding on the scale-free steel.
In photo 1, the left half of the steel plate shows the original mill scale. On the right half, the scale has been removed.
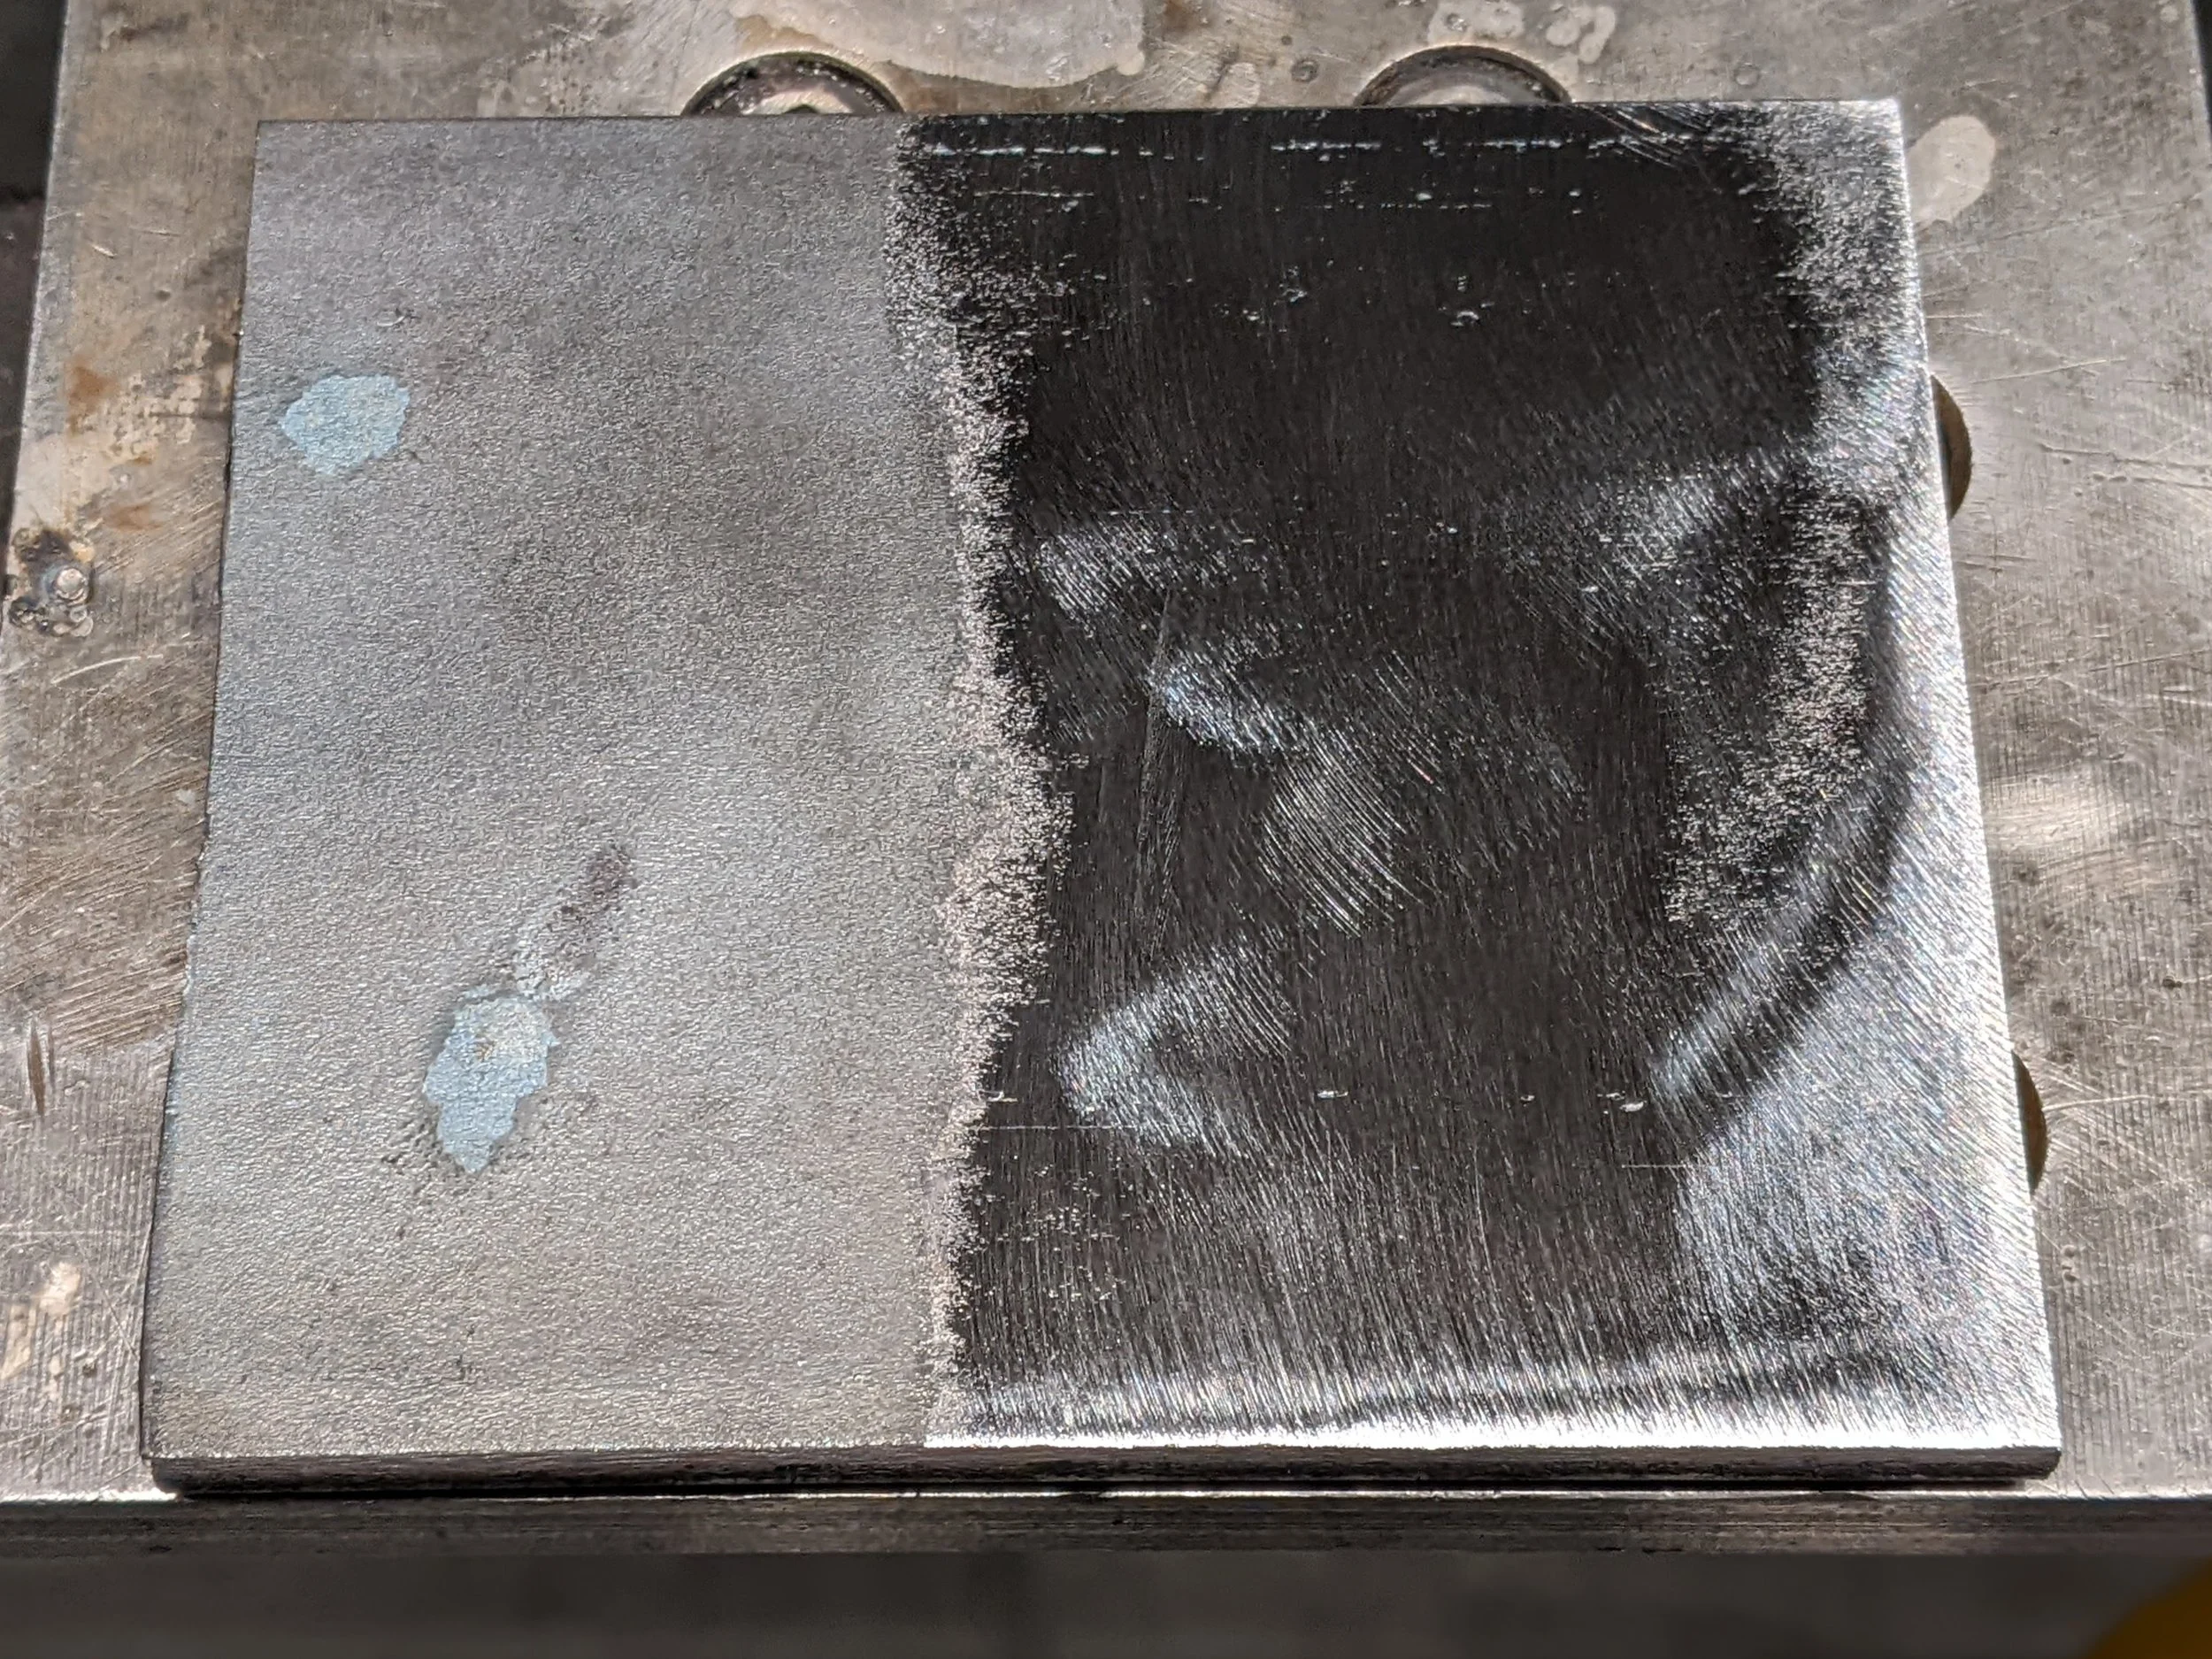
Photo 1
In order to practice squaring and dimensioning stock, I first had to rough cut a block of 10” x 6” x 4” aluminum on the horizontal bandsaw (photo 2). On my first attempt, the chips started to collect and caused the blade to bind. After tapping the block with a dead blow hammer to release the blade, I made a second, successful attempt by using a spray bottle of coolant to wash away the chips.
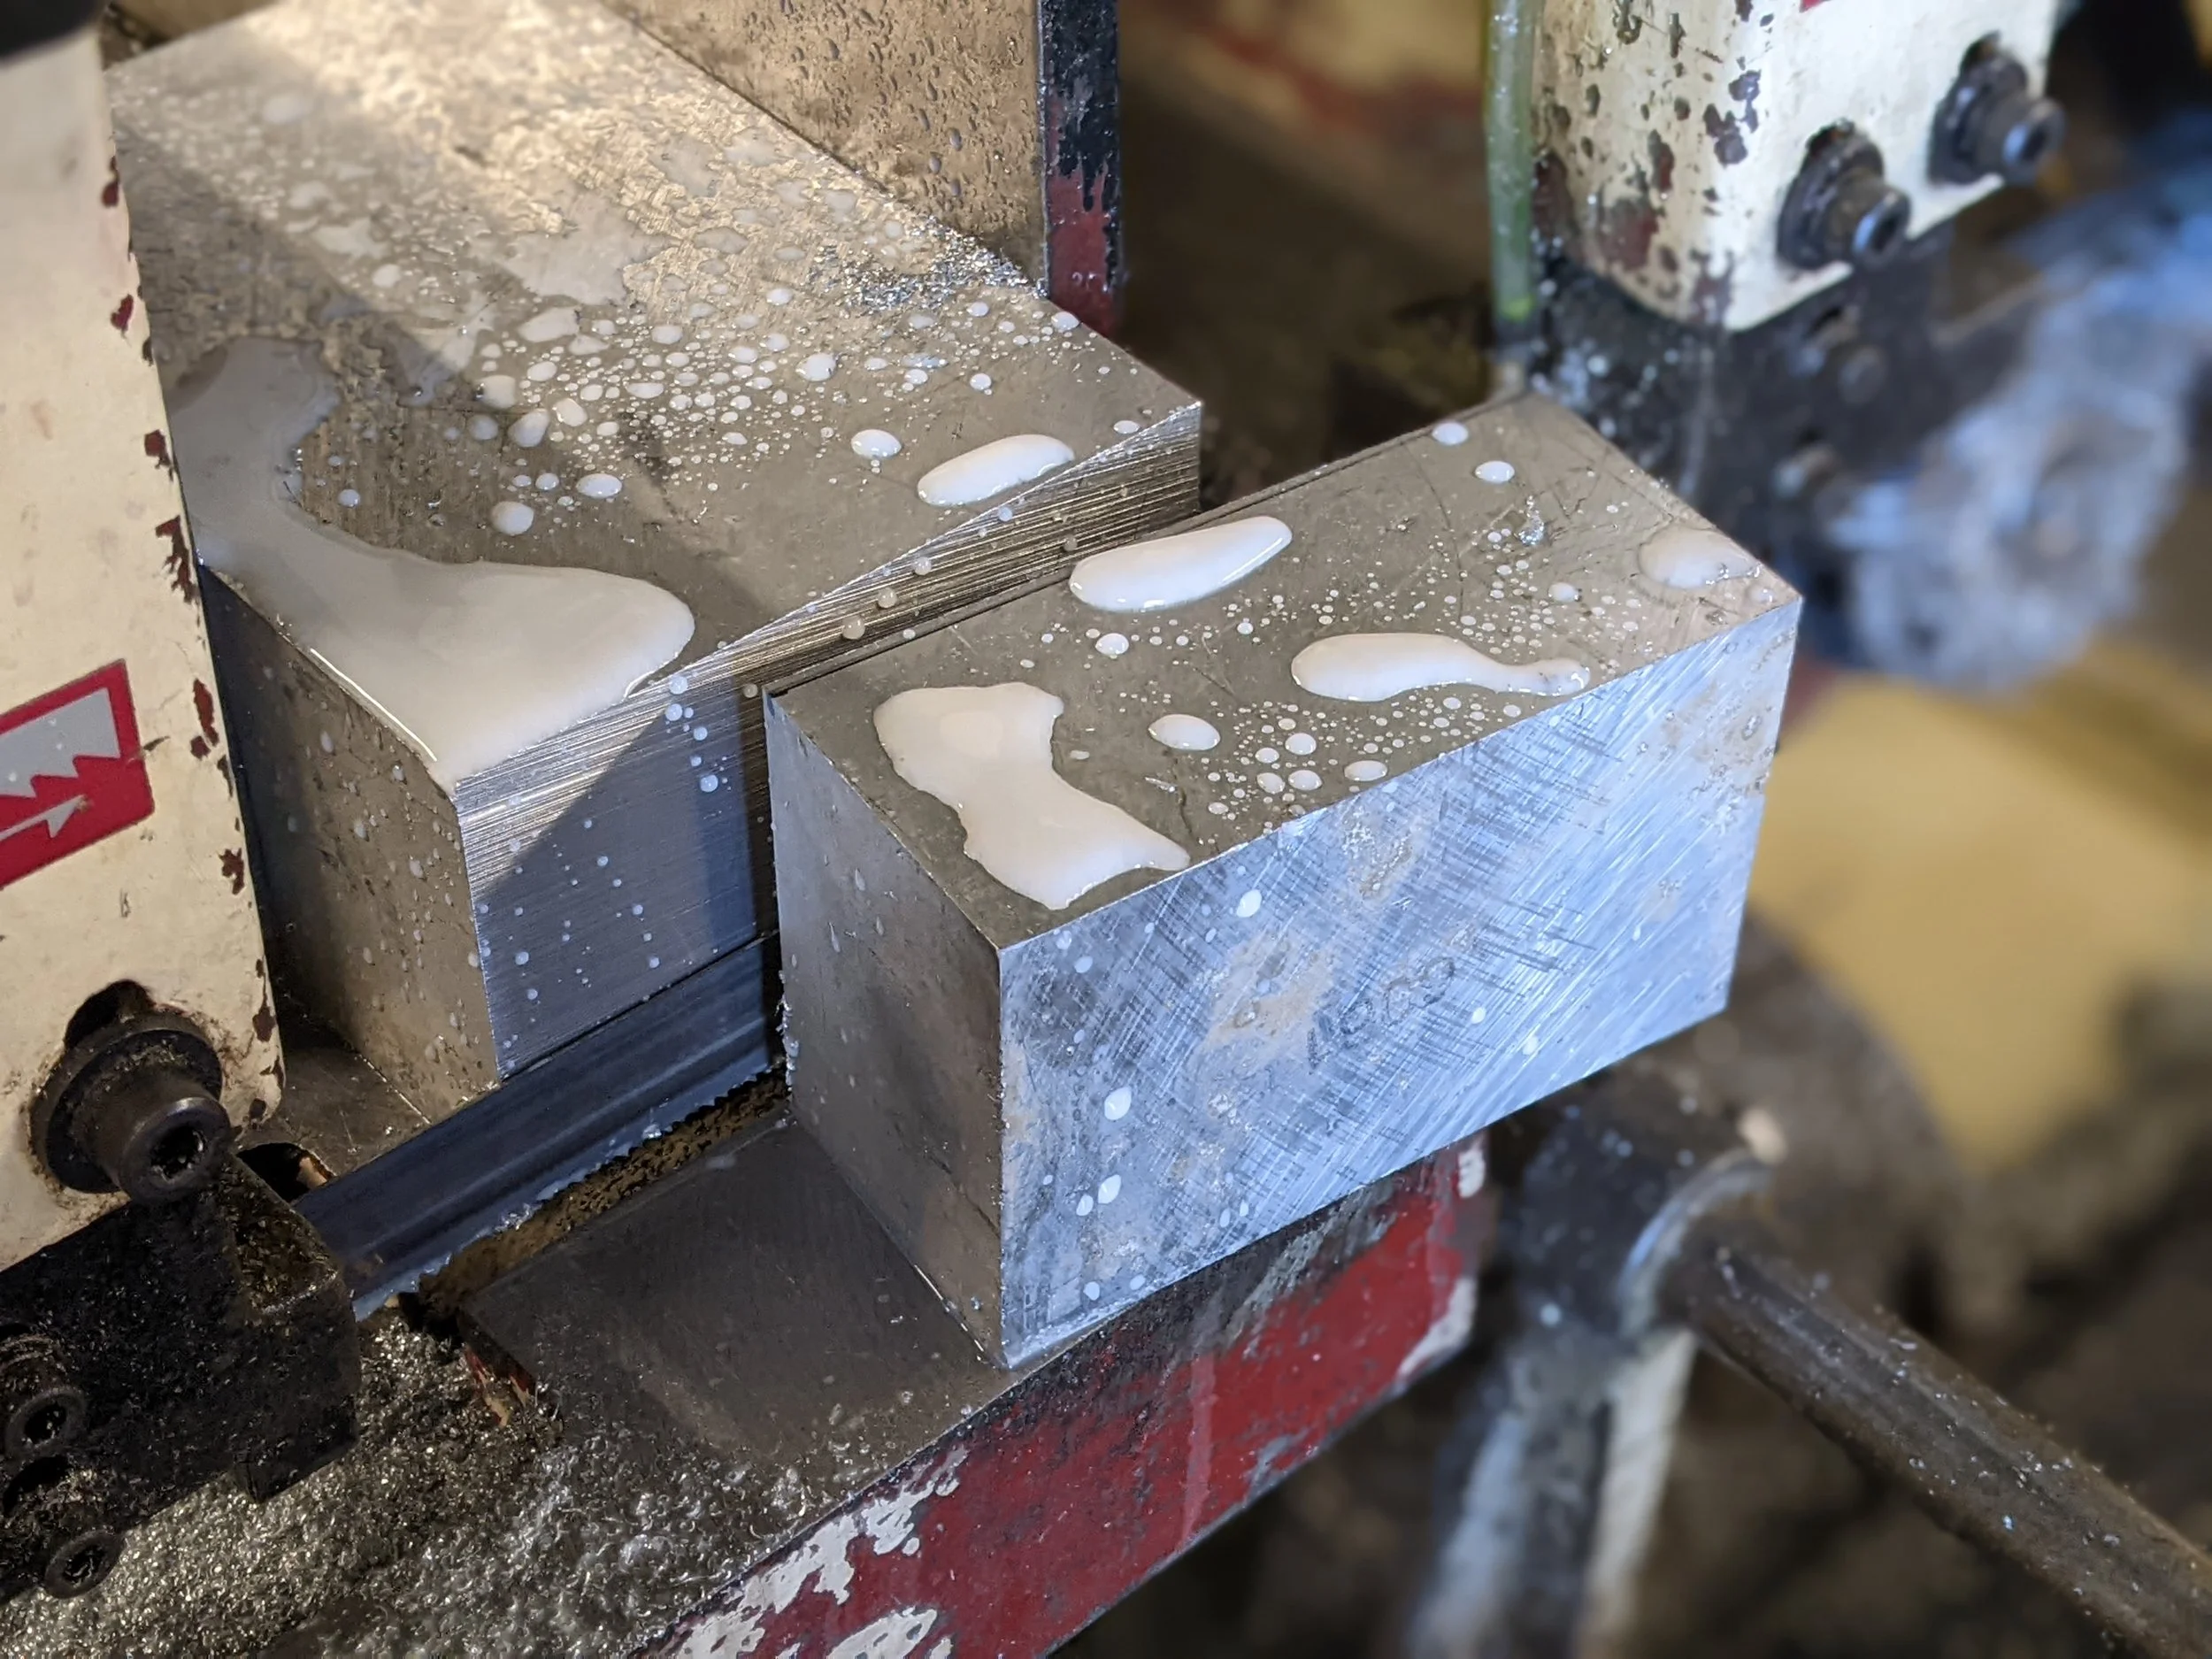
Photo 2

Week 1
My first week in the shop was a success.
This was my first week in the shop. I only spent ~5 hours there but it was a productive week. I got time on the manual mill, TIG welder, and horizontal bandsaw. I hit a few bumps (as expected and desired), for which I found workarounds that I can try next week. They include buying a face mill and parallels — something I had put off for a while but finally pulled the trigger.
Activities
Manual Mill
Trammed vise using my Interapid test dial indicator recently purchased on eBay
Squared a ~3/4” cube of aluminum on mill using my new 3/8” Ø, 2-flute solid carbide end mill from Helical
TIG
Used angle grinder with thin wire cup brush to prep steel plate
Cut 1/4” steel plate on horizontal bandsaw
👎 Failed to cut 1/8” steel plate on horizontal bandsaw (too thin for vise to hold)
Sharpened tungsten rod
👎 Failed to create weld pool on 1/4” plate, much less actually fill it
Lessons Learned
To properly hold short or thin stock in vise on horizontal bandsaw, first tack-weld it to a long square tube and put the tube in the vise
Use at least 150 amp when TIG'ing on 1/4” steel plate
Use flap disc (not wire brush) to properly prep metal for welding
Try squaring a larger cube (>1.5”), it should be easier
Buy a shell mill to face/square more quickly
Buy parallels — ones in shop are too dinged up and only ±.001” parallel
Show and tell
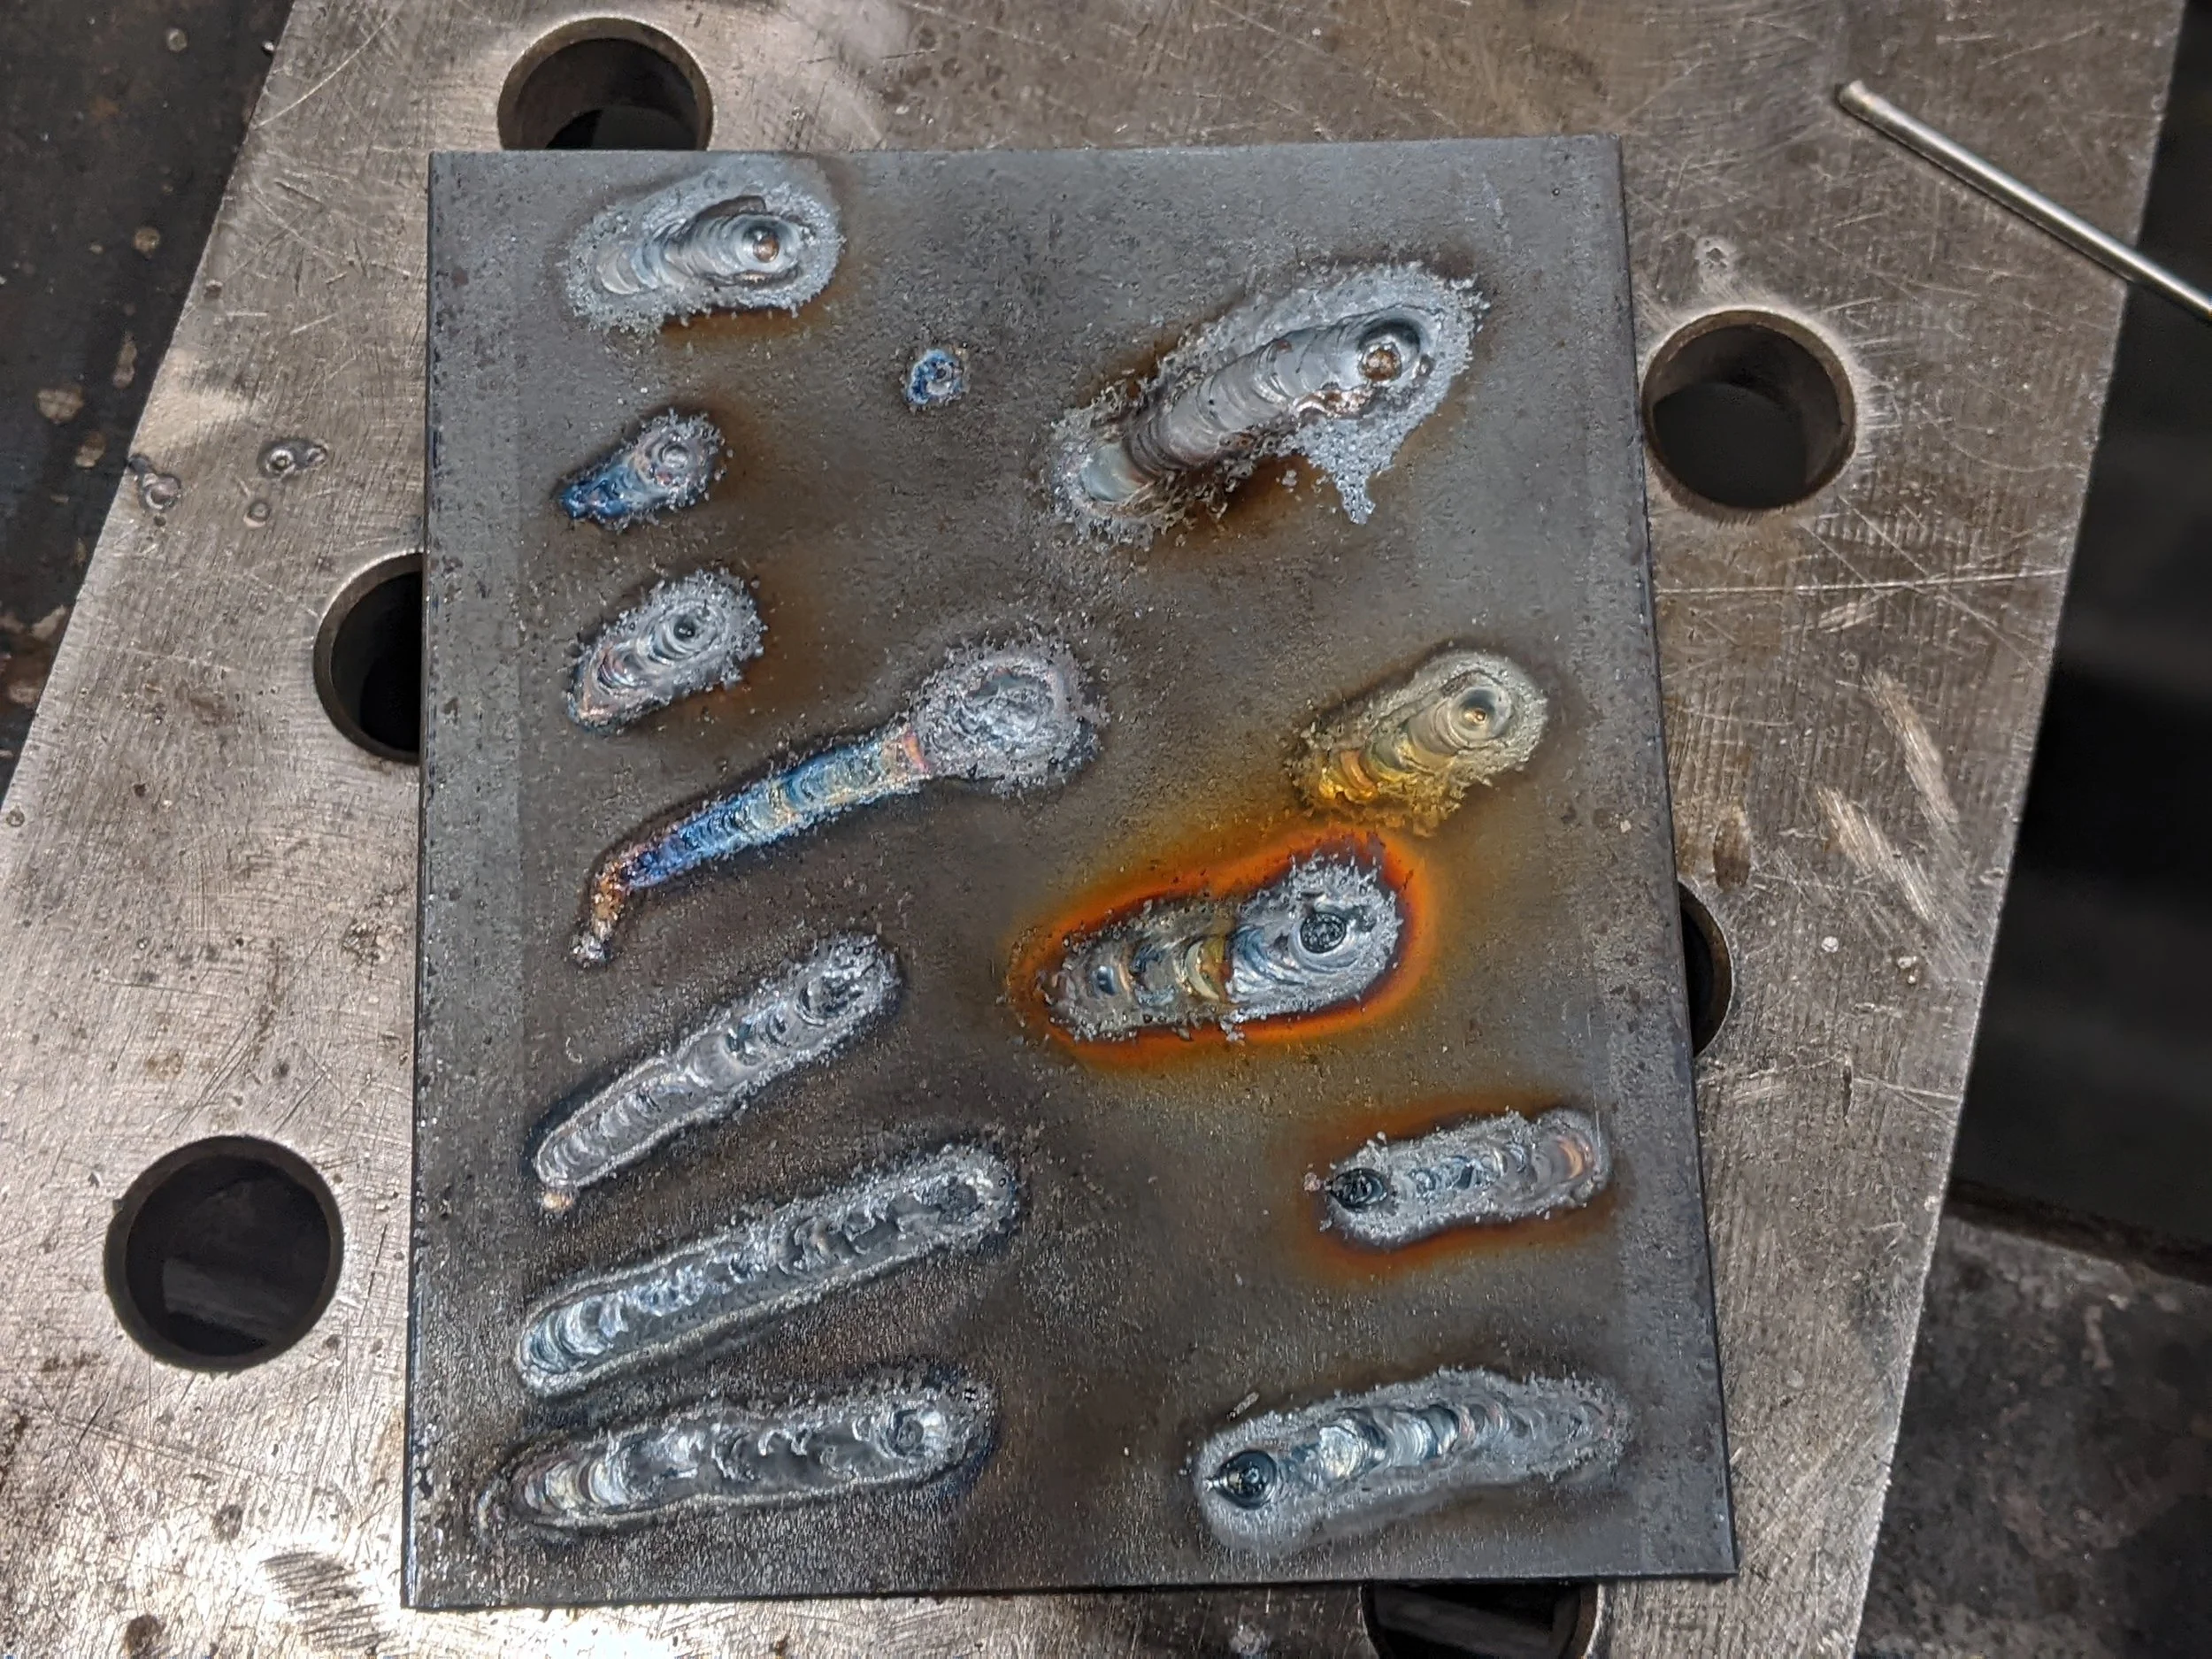
Several failed attempts to TIG weld 1/4" mild steel using 3/32" 2%-lanthanated tungsten at 100-130 amps. Most of the welds have no filler because I had difficulty creating a weld pool big enough. I need to up the amps to at least 150.
The orange color on some of the welds is caused by mill scale. I need to do a better job of cleaning the metal before welding. I used a thin wire brush with my angle grinder; I should have used a flap disc.